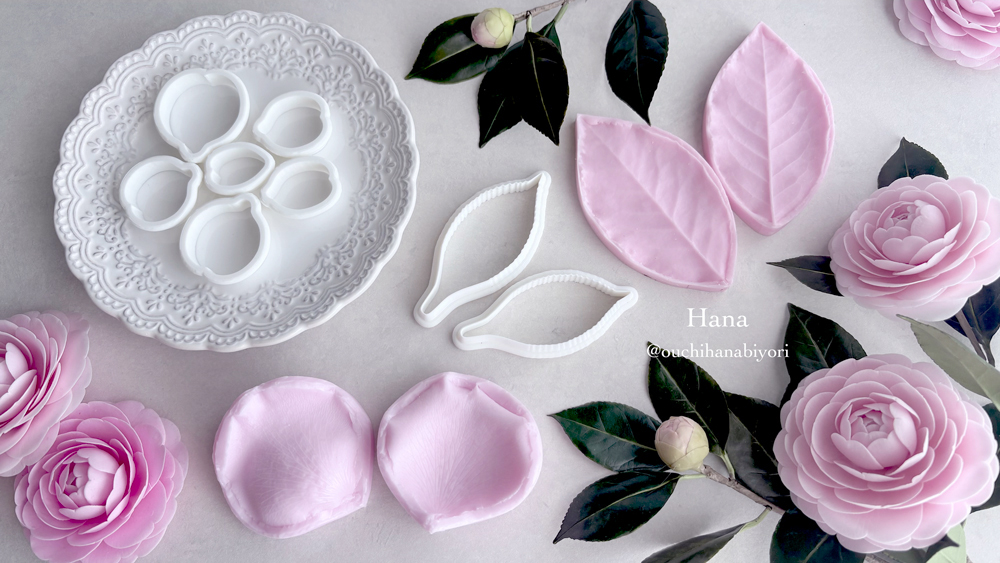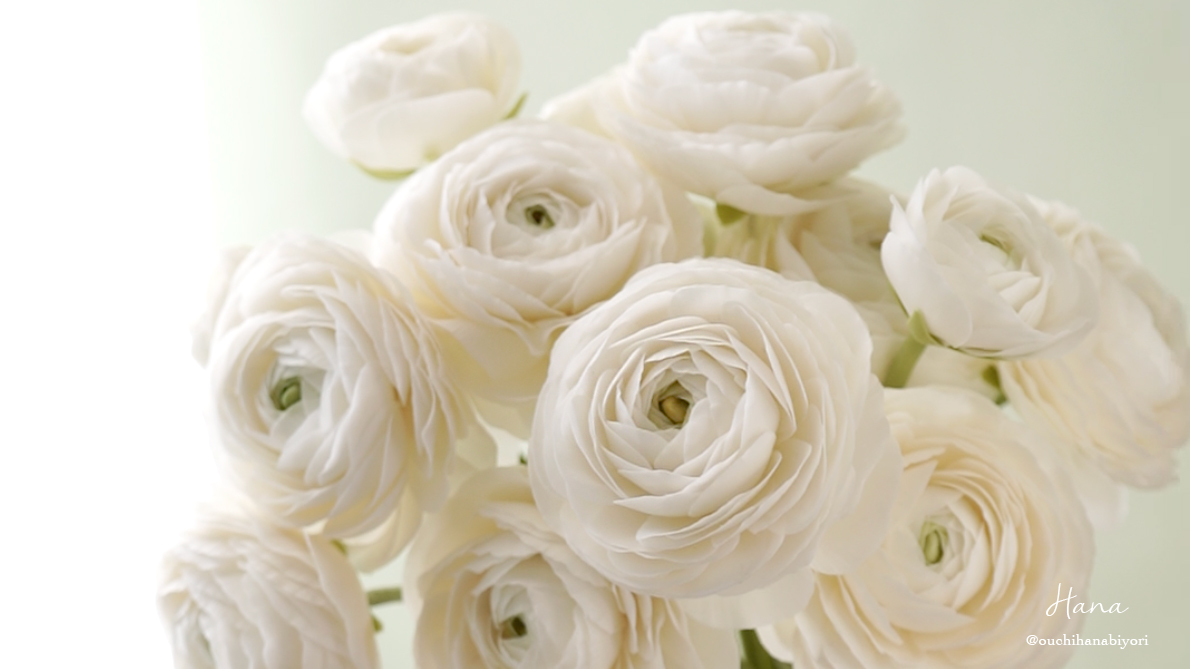
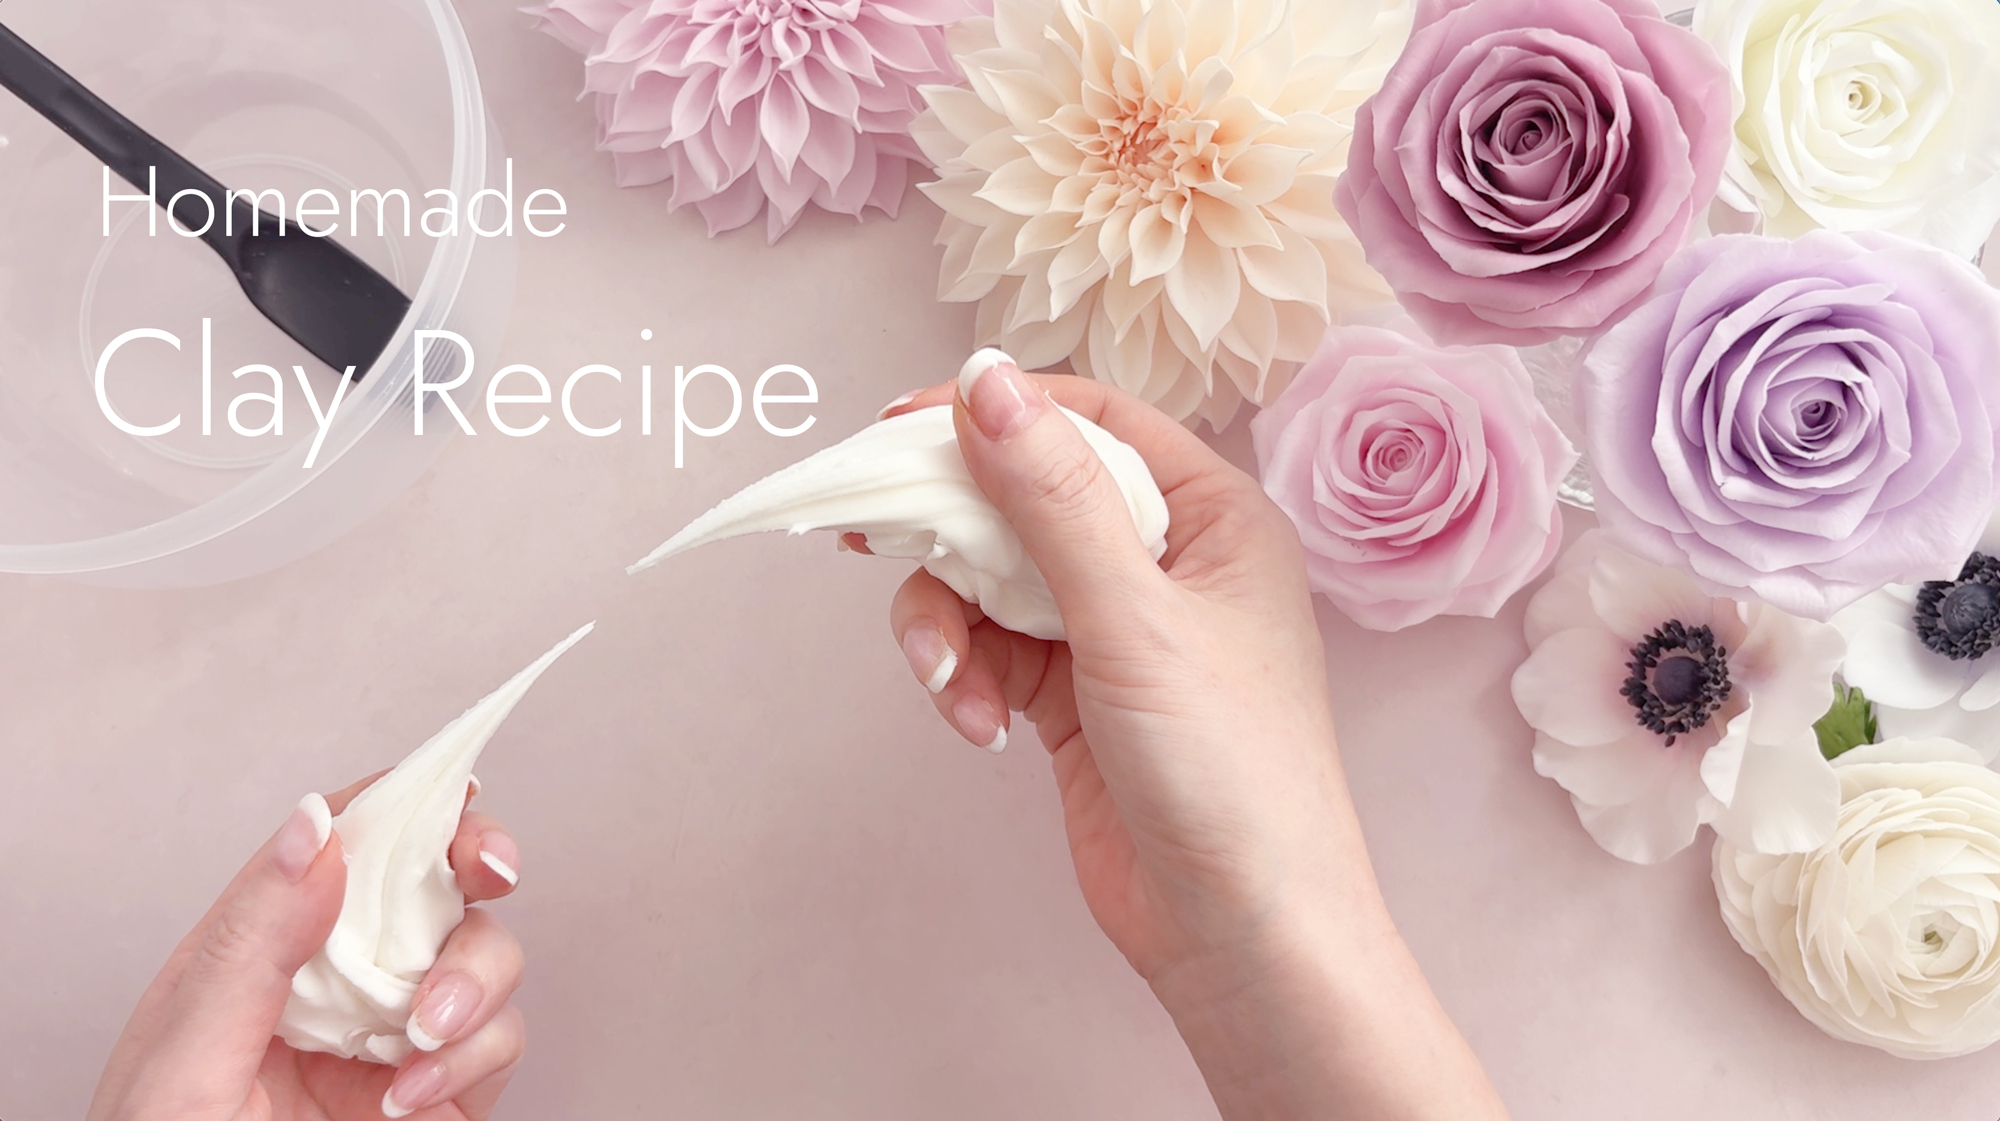
For the past few months, I’ve been working on developing my own homemade air-dry clay (cold porcelain).
Now that I’m finally happy with the result, I’ve shared the recipe and video lesson with my YouTube members.
I still feel there are areas I’d like to improve—such as giving the clay a little more firmness while shaping or helping it hold its form even better after drying. There’s always something to refine, so I plan to keep improving the recipe. The challenge is that firmness and strength often come at the expense of flexibility and smoothness, so finding the right balance isn’t easy.
I’m sure there are many wonderful clays available around the world. While I believe there’s still room for improvement, I felt this recipe had reached a practical level worth sharing with my members. Compared to inexpensive commercial clays, it’s significantly smoother, and being able to make fresh clay whenever you need it at a low cost is one of its biggest advantages.
It Only Takes About 10 Minutes!
I spent several months refining this recipe, but after filming and editing the lesson to focus only on the essentials, the finished video ended up being only about 10 minutes long. It left me feeling both happy and a little sentimental—it’s amazing that months of trial and error can be condensed into such a short lesson.
On the bright side, I think it’s much easier and more enjoyable to learn this way!
Available in Multiple Languages
This lesson supports multiple languages. The primary languages are English and Japanese, and automatic translations are available in approximately 20 languages based on your YouTube language settings. You can change the subtitle language from the video’s subtitle menu, and you can also customize the subtitle appearance, such as the text color and background, in the YouTube app settings.
The materials list and a written summary of the steps are available in the comments section below the video, but these are currently provided only in English and Japanese. If anything is unclear or difficult to understand, please feel free to leave a comment.
If your language is not currently available, let me know in the comments and I’ll add automatic subtitles if possible.
All Measurements Are Given in Grams
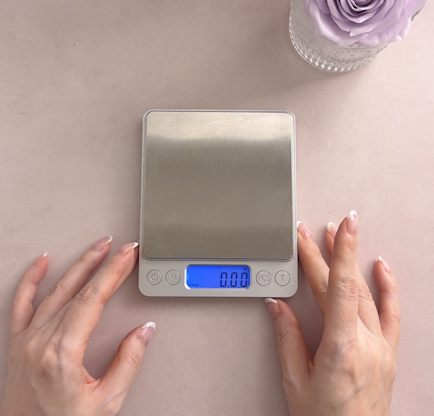
Since many of Ouchihanabiyori’s followers and members live outside Japan, I simplified the recipe using ingredients that are relatively easy to find in many countries. All measurements are given in grams, making the recipe consistent and easy to follow worldwide.
Many clay recipes use measuring cups or spoons, but sizes can vary from country to country, and they also create extra dishes to wash. To avoid confusion, I converted every ingredient to grams.
Simply weigh each ingredient directly into a mixing bowl—it’s quick and easy.
Resists Discoloration
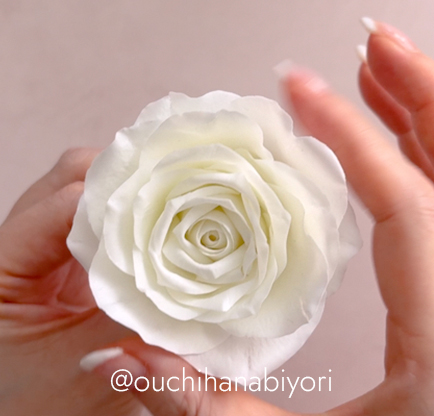
Some air-dry clays tend to become dull or yellowish over time, but so far this recipe has held its color very well. It’s especially suitable for delicate pastel flowers. Clays that discolor often begin turning gray or yellow within just a few days, but after about three months, this clay has shown no noticeable discoloration.
Flexible and Less Likely to Break
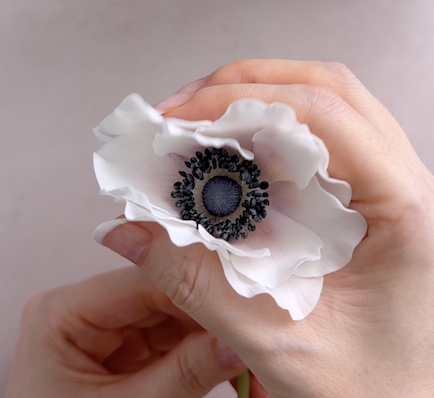
This clay remains flexible even after drying. It works well on its own, but blending it with a lightweight commercial clay can further improve flexibility and elasticity while also reducing shine for a more natural finish.
Even when I use commercial air-dry clays, I usually blend them with a lightweight clay. Compatibility varies between brands, and some combinations can become sticky or brittle. In the lesson, I share which lightweight clays I recommend and which ones I don’t.
The Trade-Off of Flexibility
One side effect of flexible clay is that flower petals may gradually droop under their own weight.
Flowers with many tightly packed petals—such as roses, peonies, ranunculus, and dahlias—or flowers with upward-facing petals are less likely to droop. However, flowers with fewer petals, such as cosmos and anemones, or flowers with flatter petals, may gradually change shape over several days. I believe this could be improved by adding cellulose, but I decided not to include it because the fibers may become visible when using cutters.
In the lesson, I also explain several ways to reduce drooping. For flowers that are especially prone to losing their shape, it may be better to use a different type of clay instead of insisting on a homemade recipe.
A Simple Recipe with Just 7 Ingredients
I tested many different materials during development, but in the end, the simplest combination worked best. In Japan, all of the ingredients can be found at home improvement stores, larger supermarkets, drugstores, or online. I also checked their availability overseas, and most of them appear to be relatively easy to find in many countries.
The updated Version 2.0 recipe, which offers enhanced flexibility, uses two additional ingredients for a total of nine.
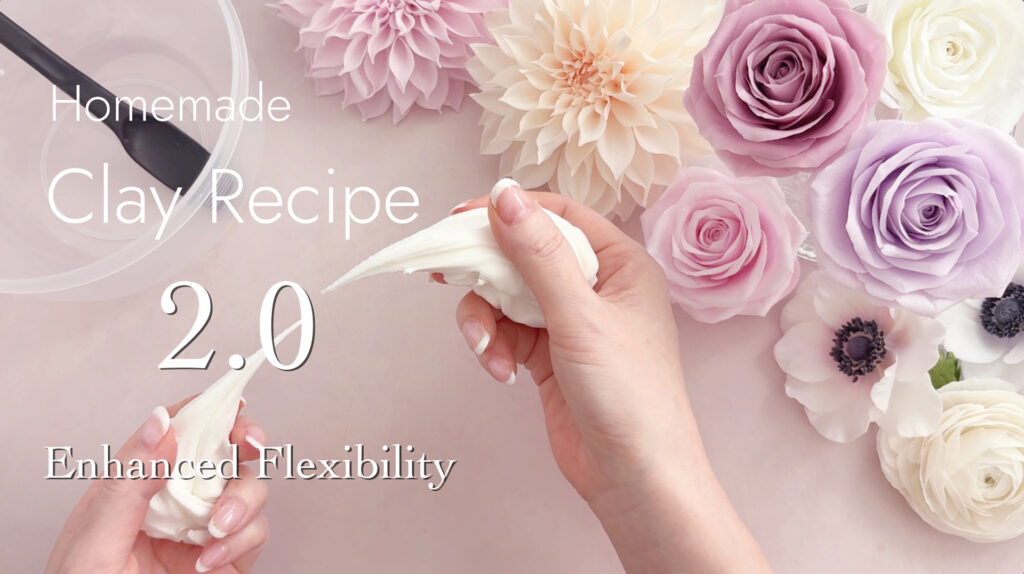
I’m not very familiar with overseas brands, but the ingredients themselves are quite common, so I don’t expect major differences. If the composition of a product is slightly different, you may simply need to make small adjustments to the amount of powder or liquid.
Will It Mold or Spoil?
I’ve only been using this recipe for about two or three months, so I can’t make any guarantees. However, so far I haven’t noticed any changes in smell or texture. At this stage, preventing the clay from drying out seems to be more important than concerns about mold or spoilage. Like commercial air-dry clay, if it’s wrapped in only a single layer of plastic wrap and left on a desk, the edges begin to harden after about three days to one week. For long-term storage, double wrapping it and keeping it in an airtight container has worked very well. Even if the clay feels a little firm, kneading it again usually restores its softness.
Results may vary depending on your climate, and I recommend using clay that has been repeatedly handled with bare hands or mixed with paint as soon as possible.
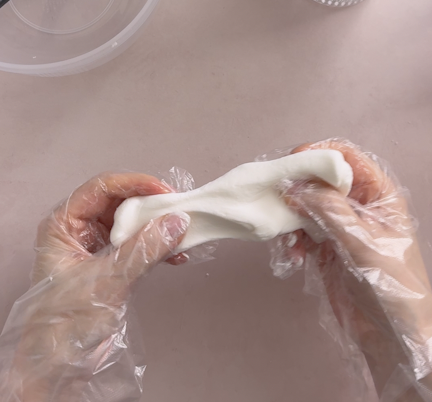
When making fresh clay, I wear disposable gloves to help prevent contamination from sweat or bacteria while also keeping my hands clean.
I also explain a preservative option in the lesson for those who want to store the clay for a longer period.
How to Access the Lesson
The homemade clay lesson is available through the Ouchihanabiyori YouTube Membership.
This lesson will be available until July 31, 2026, so I hope you’ll have a chance to watch it before then and enjoy using it in your own flower-making projects.