Have you heard of cold porcelain?
It’s the overseas equivalent of what we call jushi nendo (resin clay) in Japan — an air-dry clay made primarily from starch and polyvinyl acetate. When I first started posting content in English, it kept getting auto-translated as “resin clay” or “polymer clay” — and almost every time, someone would comment asking, “Do you need to bake it in the oven?” Polymer clay, both in Japan and abroad, typically refers to the oven-bake type, so it’s a completely different category. These days I just use the term cold porcelain directly, and that seems to land much better.
One side note: if you look at the packaging of Modena clay, it actually says “Air Dry Polymer Clay” — so adding “air dry” in front might work too, depending on the context.
Making It Yourself
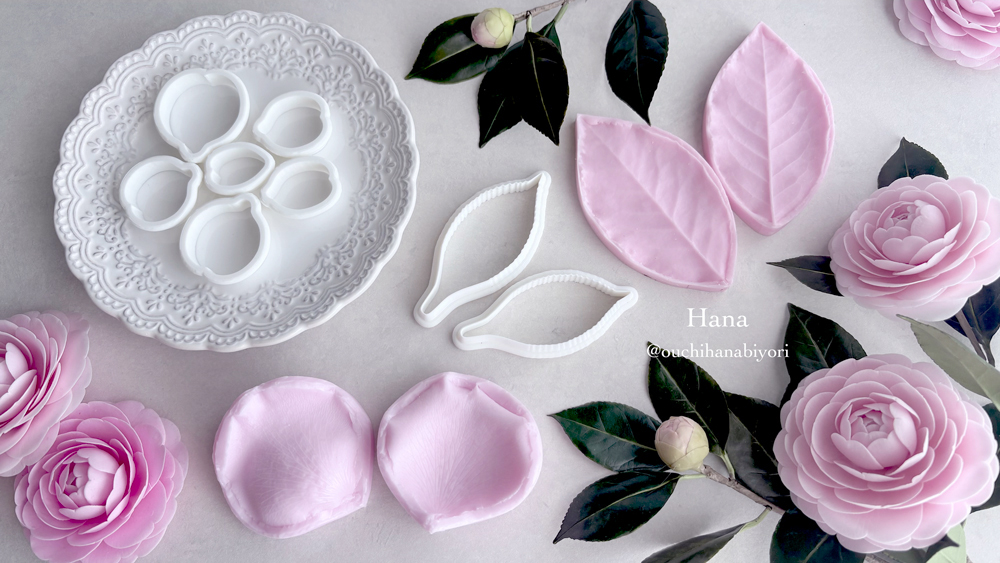
Here’s something I didn’t know for a while: cold porcelain is actually pretty easy and inexpensive to make at home, using materials that aren’t hard to find. Once I learned that, I had to try it for myself — and I’ve been experimenting ever since.
My testing focuses on three things: strength, shrinkage rate, and flexibility after drying. I’ve worked through 21 different formulas so far, labeled A through U. (In the early days I wasn’t keeping notes, so the actual number of attempts is probably quite a bit higher.) It’s slowly getting closer and closer to the feel of store-bought resin clay — I feel like I’m almost there.
Developing a formula is very much a balancing act — fix one thing, and something else suffers. Controlling shrinkage has been the trickiest part. When I try blending in other clays to adjust the texture, sometimes it gets sticky; other times it becomes too brittle. And occasionally, the delicate vein details on petals disappear as it dries… These are challenges I run into with commercial resin clay too, honestly. It really shows how much depth there is to working with clay.
More Practice Time
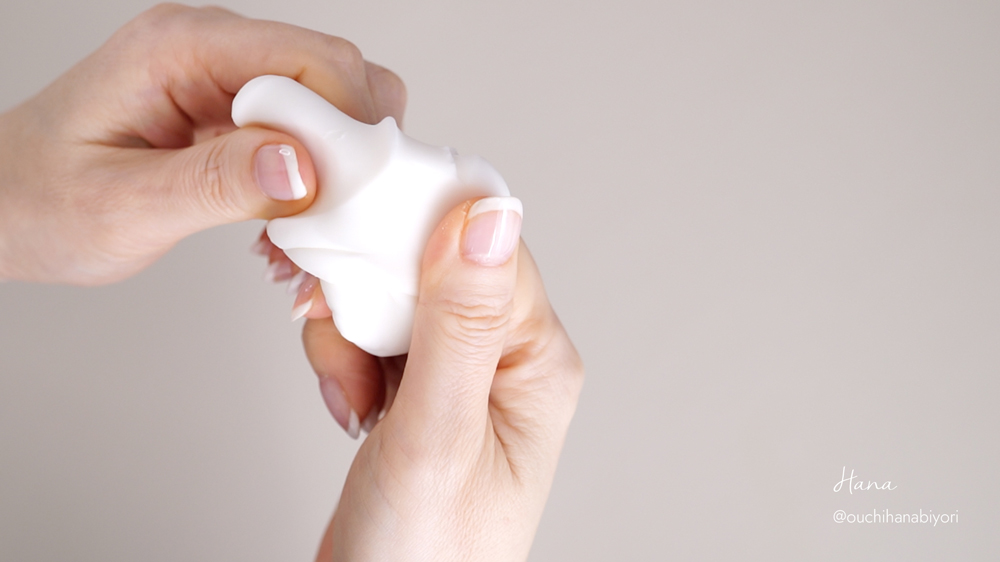
These days, I use my homemade clay for almost all my practice and prototype work. It’s easier to work with than the clay from 100-yen shops, and much better value. I let it rest for about a day after making it, but that still means I’m using it at peak freshness — which makes a real difference. It stays moist and stretchy, which is especially nice for wrapping stems. It’s reminded me just how much the condition of the clay matters.
The Research Continues
I still want to fine-tune the ratios a bit more. The research continues — and I’ll keep sharing updates on how it’s going along the way. I never imagined I’d end up making my own clay, but getting into it has genuinely deepened my understanding of the material itself — and that’s been really rewarding. The spirit of “if it doesn’t exist, make it; if you want to try it, try it” is the same one that drives my cutter and mold work. I’ve been thinking about that a lot lately.