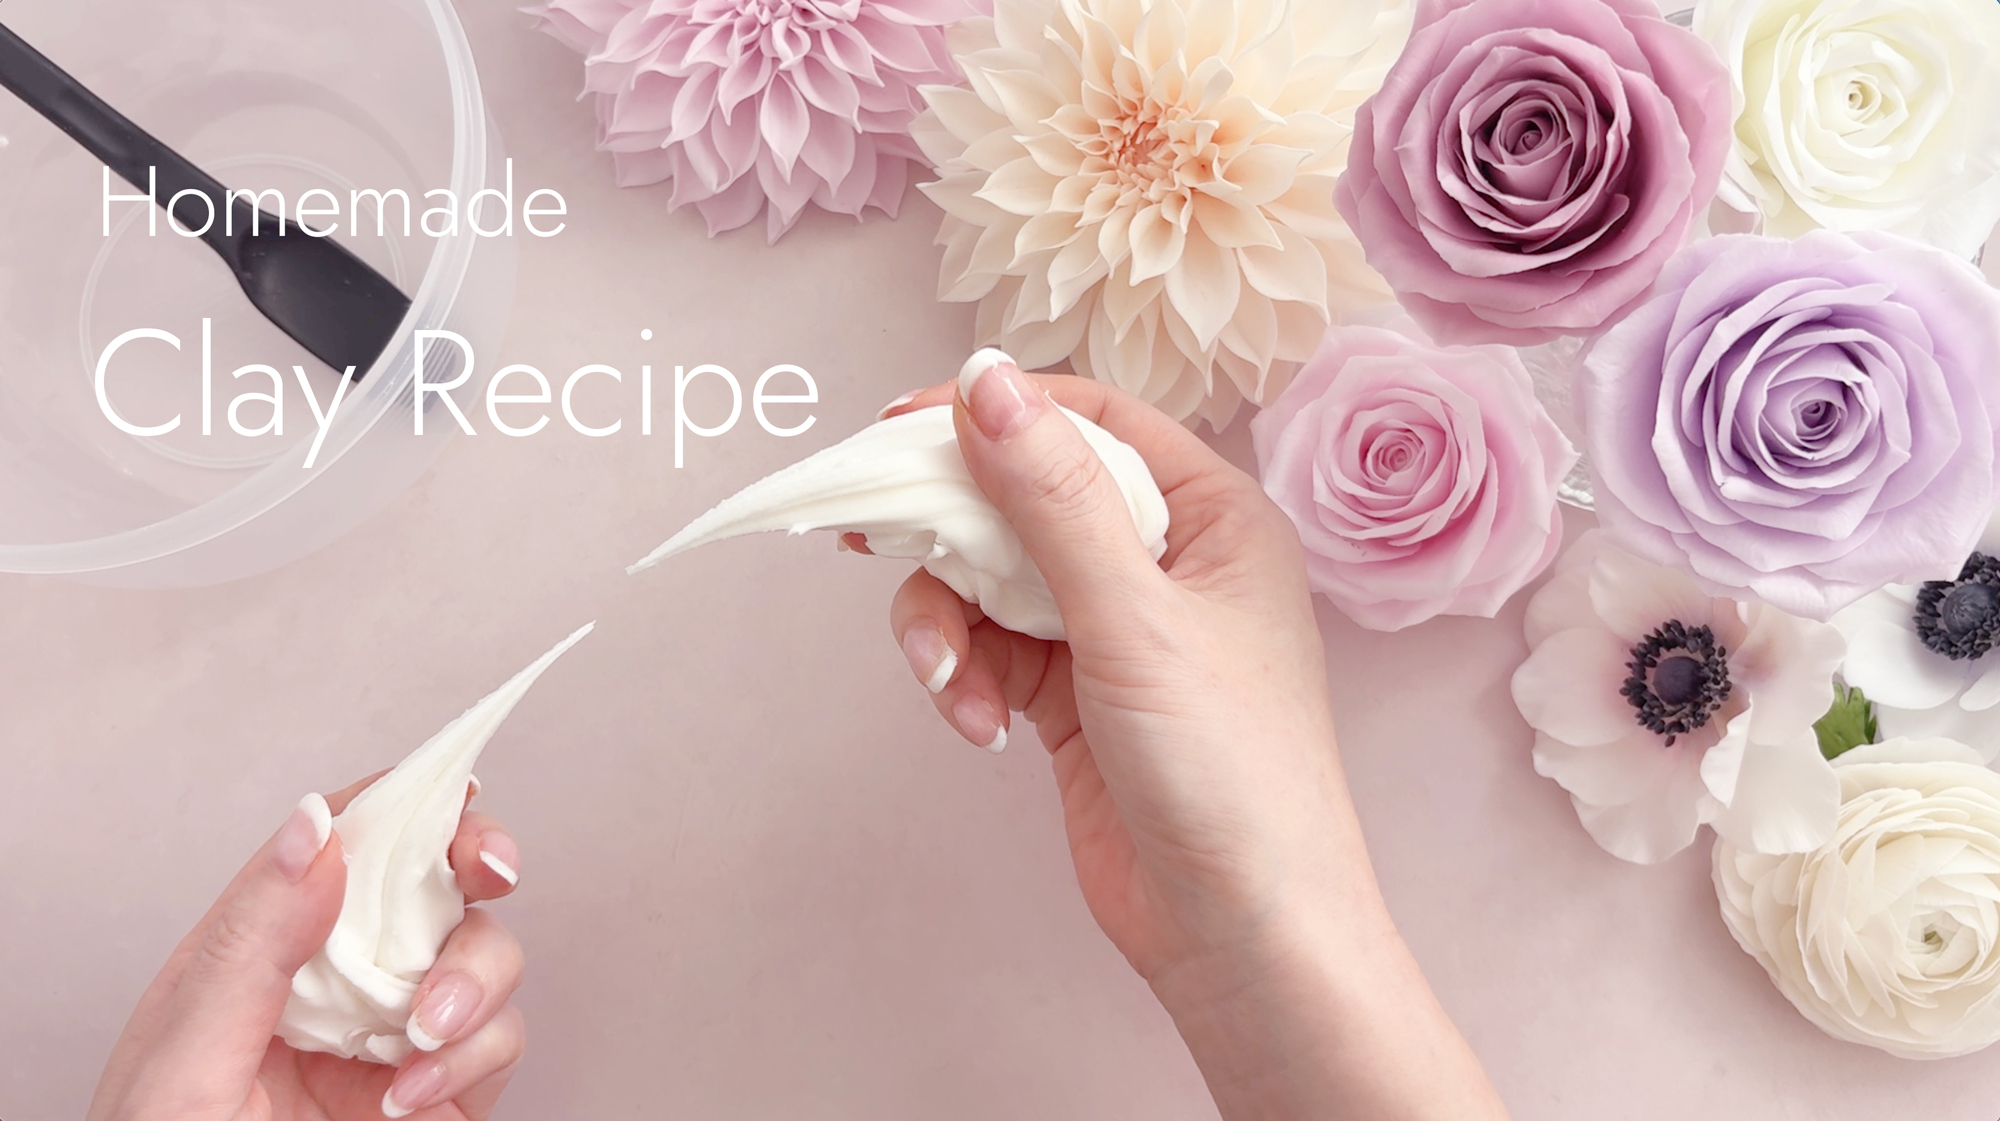
For the past few months, I’ve been working on developing my own homemade clay.
It’s finally ready, and I’ve shared the full tutorial with my YouTube members.
Making clay is surprisingly fascinating—the more you experiment, the more addictive it becomes.
There was always something I wanted to improve just a little more.
I ended up buying all kinds of materials and repeating countless experiments.
I wanted a little more firmness while shaping, better shape retention after drying, and at the same time smoothness and flexibility. Finding the right balance between these qualities has been the biggest challenge.
After comparing it with several commercially available clays in Japan, I feel it performs just as well in many respects. It’s also cost-effective, and I can always make a fresh batch whenever I need it, so there are plenty of advantages to making it yourself.
It Takes Only About 10 Minutes to Make!
I spent months perfecting this recipe, but after filming the tutorial and editing out all the trial and error, the finished video ended up being only about 10 minutes long. It gave me mixed feelings—happy that it’s so simple to follow, yet amazed that months of work fit into such a short video.
But that’s actually a good thing for viewers—you can learn everything quickly and easily!
All Measurements Are Given in Grams
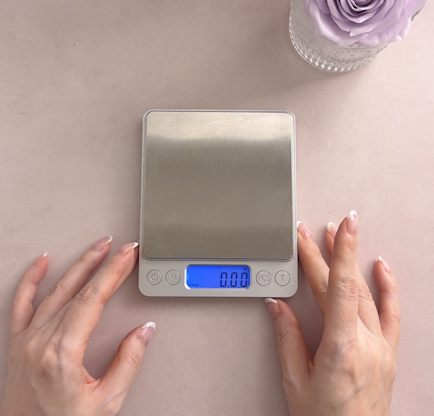
Many of Ouchi Hanabiyori’s followers and members live outside Japan, so I chose ingredients that are easy to find internationally whenever possible. I also use grams for all measurements since it’s a universal unit.
Many recipes use tablespoons or cups, but those measurements can vary from country to country, which can be confusing. Besides, using a kitchen scale means fewer measuring tools to wash afterward!
Resists Yellowing and Discoloration
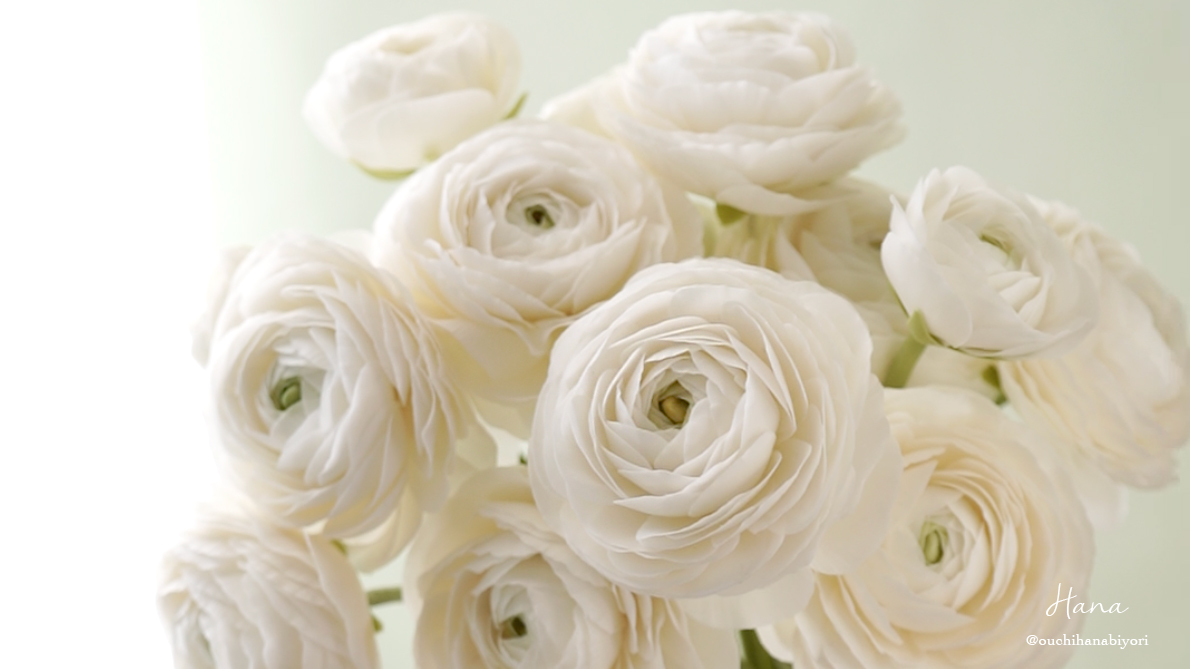
Some air-dry clays tend to yellow or become dull over time, but so far this recipe has held up very well. It’s especially suitable for pastel-colored flowers. Some clays begin turning gray or yellow within just a few days after they’re made, but mine has stayed bright for about three months so far.
Flexible and Less Likely to Break
This clay remains flexible even after drying. It works beautifully on its own, but I recommend blending it with a lightweight commercial clay. Doing so increases its springiness (its ability to return to its original shape) while also reducing surface shine.
Even when I use commercial clays, I usually mix them with lightweight clay. Different clays behave differently when blended—some become sticky, while others become more brittle. In the lesson, I share which lightweight clays I recommend and which ones I don’t.
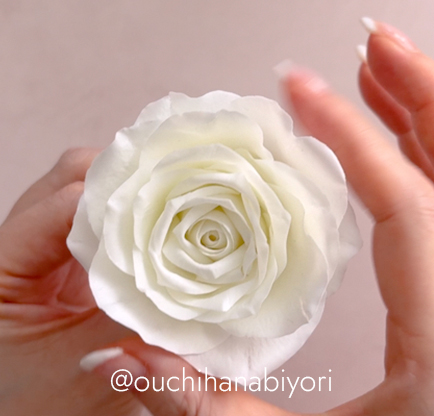
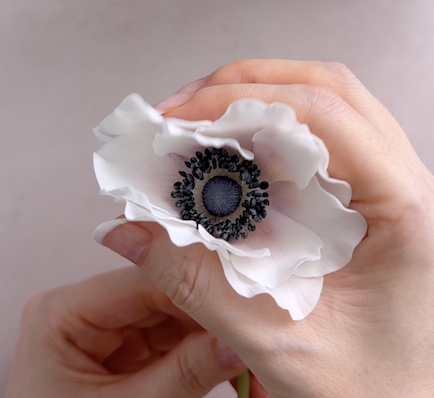
One trade-off with flexible clay is that flower petals may gradually droop under their own weight. Flowers with many tightly packed petals, such as roses, peonies, ranunculus, and dahlias, tend to hold their shape well. However, flowers with fewer or flatter petals, like cosmos and anemones, may slowly droop over several days.
In the lesson, I explain several ways to reduce drooping. For flowers that naturally tend to sag, you may also want to choose a different type of clay.
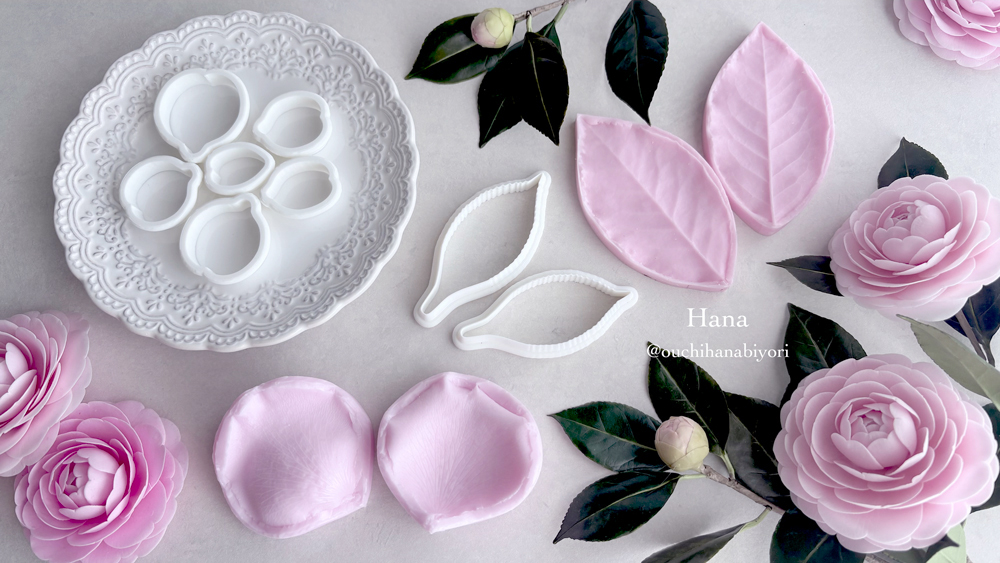
A Simple Recipe with Just 7 Ingredients
After testing many different materials, I ended up removing quite a few of them and settling on a simple recipe. In Japan, most of the ingredients are available at home improvement stores, supermarkets, drugstores, or Amazon. I also researched their availability overseas, and fortunately, they are generally easy to find in many countries.
Will It Mold or Go Bad?
I’ve only been using this recipe for about two to three months, so it’s still early to make definitive conclusions. So far, however, I haven’t noticed any changes in its smell or texture. In my experience, drying out is more of a concern than mold. Like commercial air-dry clays, if it’s wrapped in only a single layer of plastic wrap for about a week, the edges will begin to dry out. For long-term storage, I double-wrap it and keep it in an airtight container, which has worked very well. Even if it feels a little firm, kneading it usually restores its softness.
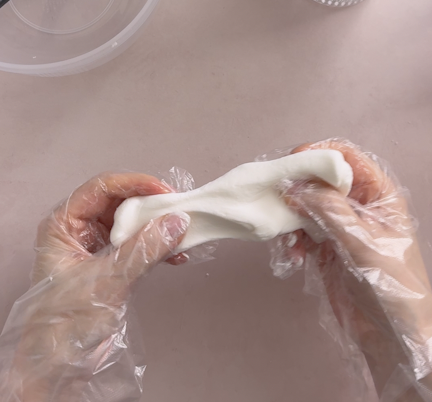
Of course, storage conditions depend on your climate. Clay that has been handled extensively with bare hands or mixed with paint may not keep as well. I always wear disposable gloves while making clay to keep it clean and to prevent sweat or bacteria from getting into the mixture. In the lesson, I also explain an optional preservative for those who want to store their clay for a longer time.
How to Watch the Lesson
The homemade clay lesson is available through the Ouchi Hanabiyori YouTube Membership.
This lesson will be available for a limited time only, until July 31, 2026. I hope you’ll have a chance to watch it before then and use it to inspire your own flower-making projects.
“`