Make Your Own Cold Porcelain Clay
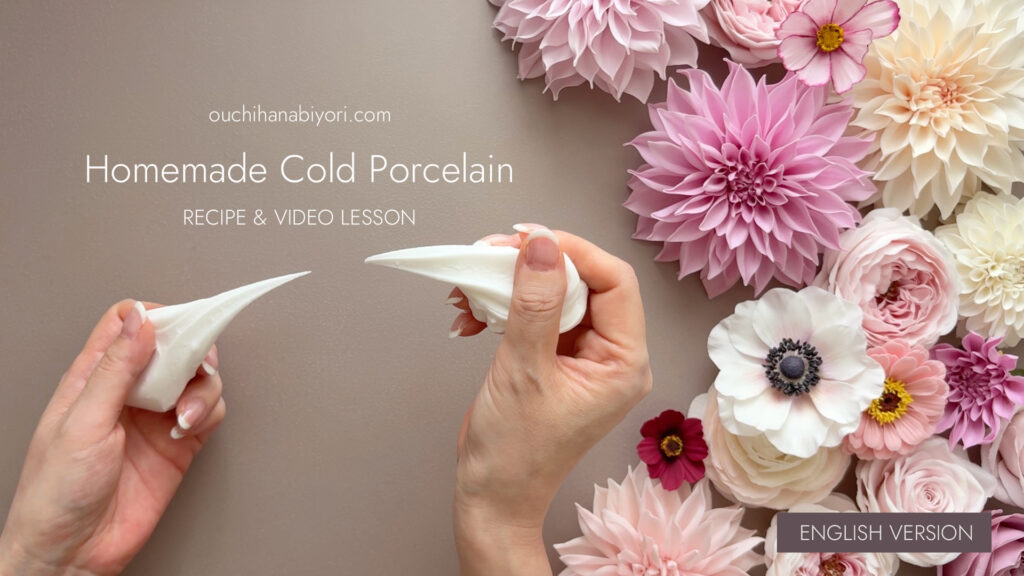
In this video course, I share my original cold porcelain recipe using accessible ingredients such as wood glue and cornstarch.
I developed and refined the recipe through my clay flower work, experimenting with texture, ease of shaping, and flexibility after drying.
The video lessons guide you through the ingredients, clay-making process, storage, and comparisons with commercial clays, so you can learn at home and revisit each step whenever you like.
Homemade Clay Features
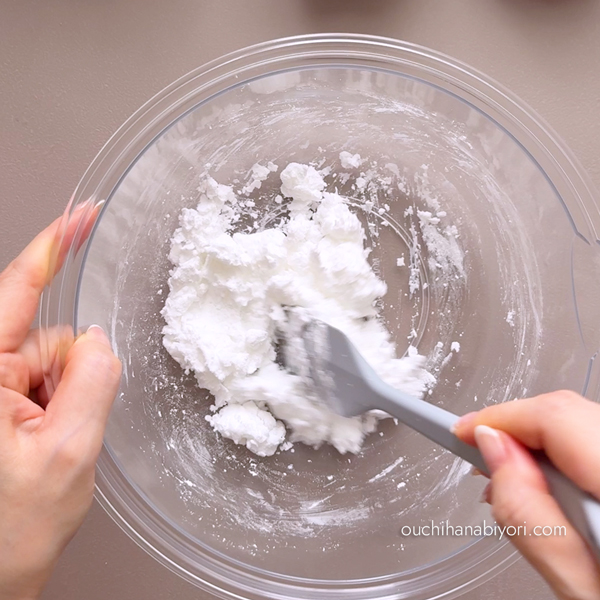
Simple Ingredients
The recipe focuses on ingredients that are relatively easy to find, including wood glue and cornstarch.
All measurements are given in grams, making them easy to follow wherever you live. Simply weigh each ingredient using a digital scale.
One of the pleasures of making your own clay is being able to prepare a fresh batch in the amount you need.
Adjustable Flexibility
The clay is easy to roll thin and retains some flexibility after drying. You can also blend it with commercially available lightweight clay to adjust the texture and flexibility.
That flexibility also has trade-offs: depending on the flower and petal shape, some pieces may droop after drying. The comparisons and project examples can help you decide when to adjust your clay blend or choose a different clay for the flower you want to make.
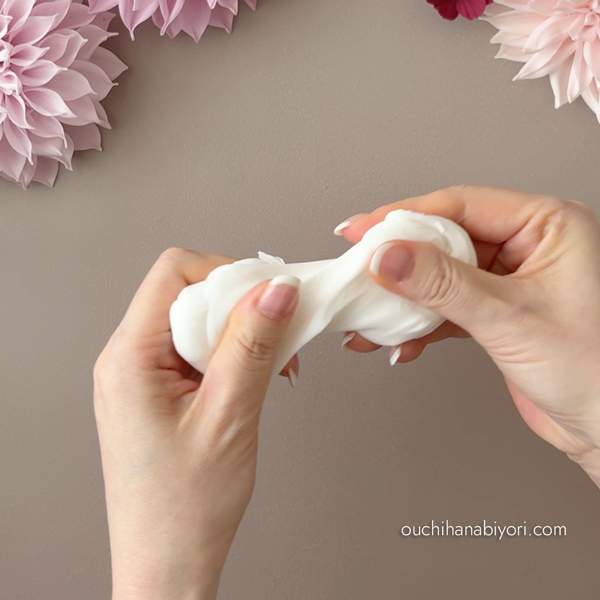
Clay Comparisons & Examples
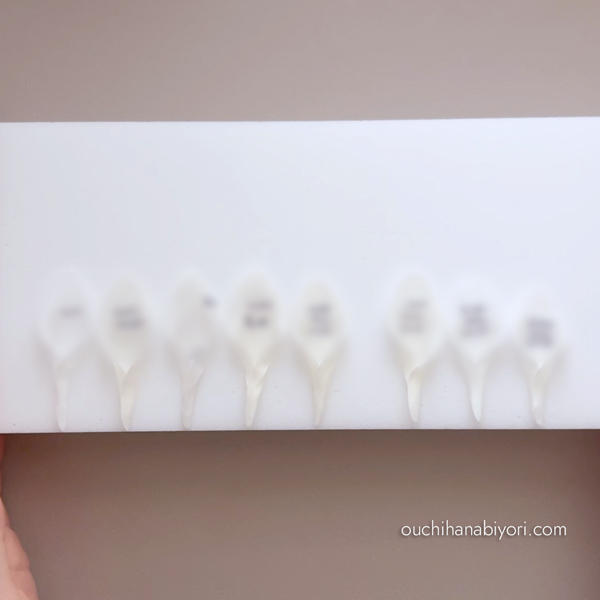

The lessons compare homemade clay with several commercial cold porcelain clays sold in Japan, looking at shrinkage and changes in color as they dry. You will also see examples of clay flowers made with the homemade recipe.
Every clay has its own strengths, and the best choice depends on the flower and finish you have in mind. I hope homemade clay becomes another useful option in your creative toolkit.
An Updated Recipe
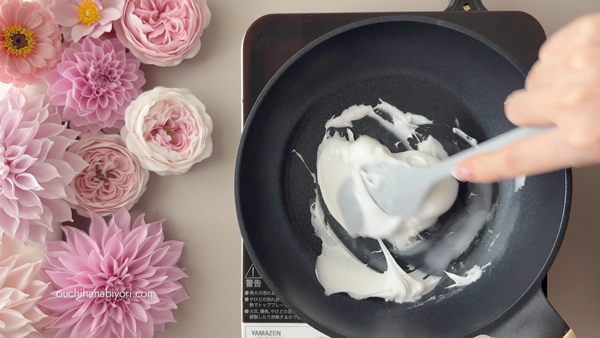
I have made several changes since the version previously shared through my YouTube Membership.
For this course, I adjusted some of the ingredients and their proportions and switched the heating method to a pan on the stovetop. These refinements are intended to make the clay-making process more consistent.
The new lessons demonstrate the entire process, from weighing and heating the ingredients to finishing and storing the clay.
I plan to keep experimenting and refining the recipe as I continue my clay flower work.
What You’ll Learn
Four video lessons cover everything from the ingredients and preparation to the clay’s characteristics after drying.
Learn about the ingredients used to make the clay and what each one contributes.
Follow the process step by step, including measuring, mixing, heating, finishing, and storing the clay.
Compare shrinkage and color with commercial cold porcelain clays, and explore examples of flowers made using the homemade clay.
See how the clay looks and feels after approximately one month in storage, and learn how to soften clay that has become too firm.
Below each video, you will find written notes with ingredient measurements, steps, and helpful tips, so you can check the details without rewatching the full lesson. You can use your browser’s translation feature to read the written text in another language. Please note that browser translation does not translate the subtitles embedded in the videos.
Reference shopping links (for retailers in Japan) and a user guide are also included.
Purchase & Access

This is a one-time purchase video course available through Gumroad, a platform for digital products. There is no monthly subscription, and you can return to the lessons at your own pace for as long as the content remains available on Gumroad.
Founded in the United States in 2011, Gumroad is a digital product platform used by creators around the world to sell video lessons, ebooks, and more. By 2025, it had paid out over US$1 billion to creators.
You may use the clay made from this recipe to create and sell your own finished artworks. However, reproducing, sharing, or redistributing the recipe, videos, or written materials without permission, or using the lesson content to teach others, is not permitted.
Prices are subject to change without prior notice. The current price is displayed on the Gumroad purchase page.
To help ensure a smooth learning experience, please review the Terms of Use before purchasing.
How to Access Your Lessons
After completing your purchase, you’ll be taken directly to your lesson page.
You can also access your lessons anytime through the link in your Gumroad receipt email or from your Gumroad Library.
After purchasing, open the email from Gumroad and click the “View content” button to access your lesson.
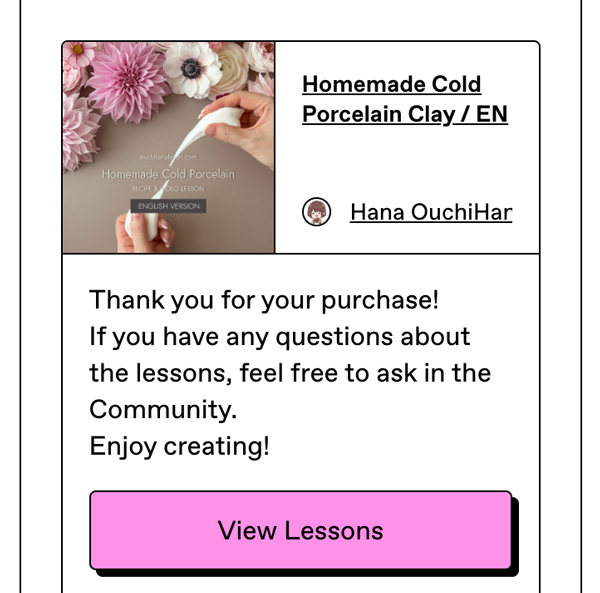
You will automatically receive an email similar to the example shown here.
The lesson page contains all four videos and related information.
Choose any lesson to begin watching.
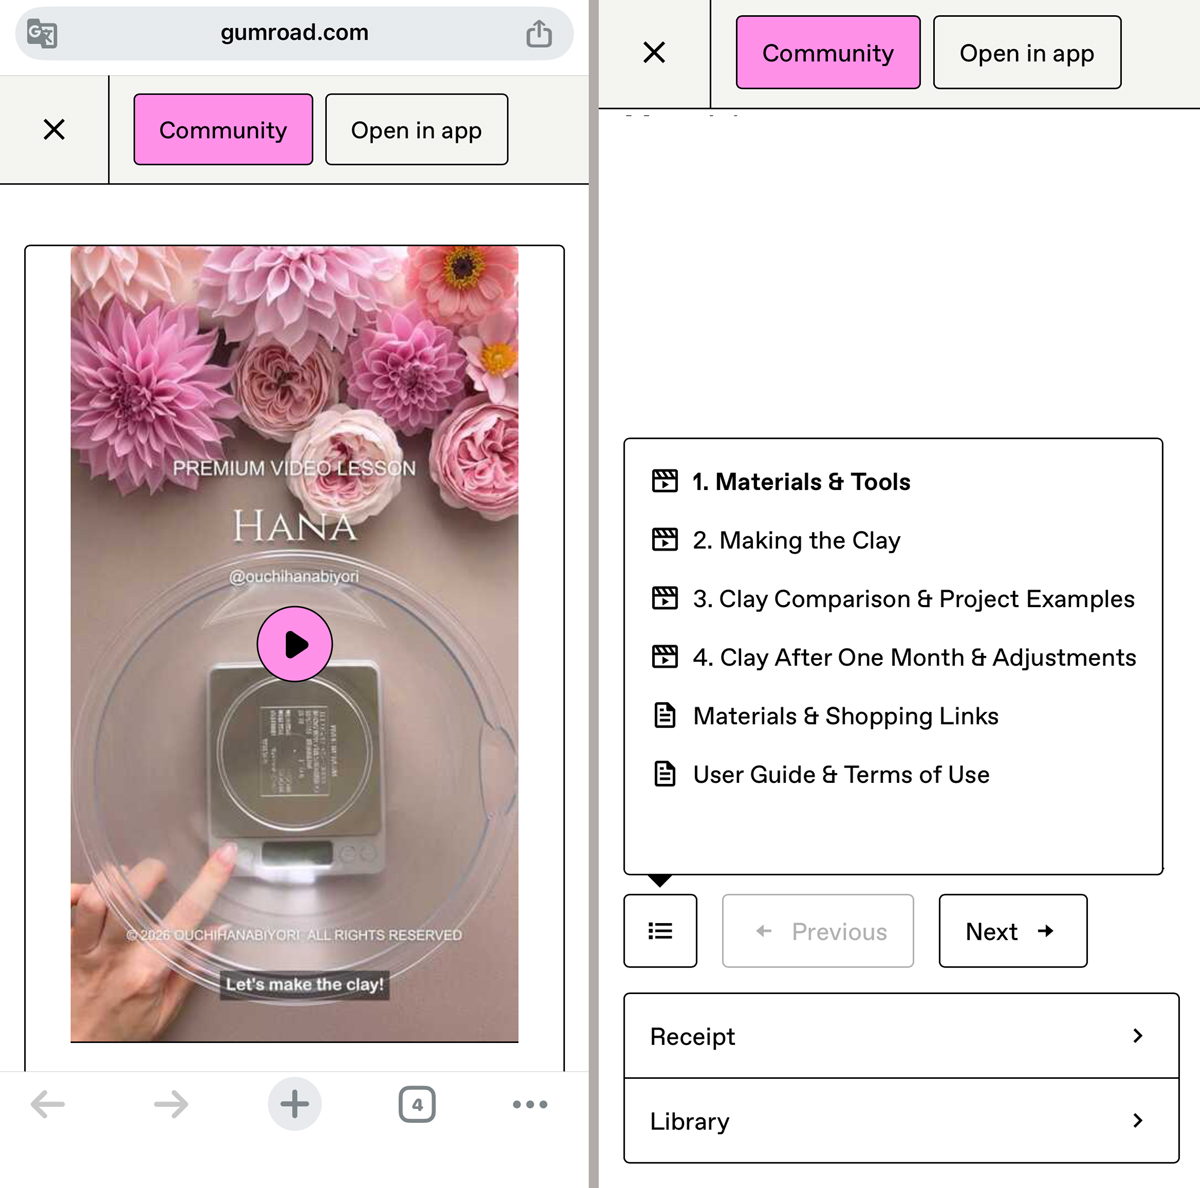
Questions about the lessons can be posted for 90 days from your purchase date in the Gumroad Community (accessible from the Community button at the top of each lesson page).
Support is limited to questions about the materials and procedures demonstrated in the lessons. Individual instruction, feedback on your work, testing alternative materials or modified formulas, and ongoing one-on-one support are not included.
Explore the Lessons
Homemade cold porcelain clay, made from simple, everyday materials.
Whether you use it on its own, blend it with commercial clays, or adjust it to suit your projects, I hope it brings new possibilities to your clay art creations.
A free preview is also available if you’d like to explore the lesson format before purchasing..